Your wildlife photography guide.
Explore the andean poison frog in detail, study its behavior, prepare your shots.
Where to observe and photograph the andean poison frog in the wild
Learn where and when to spot the andean poison frog in the wild, how to identify the species based on distinctive features, and what natural environments it inhabits. The WildlifePhotographer app offers tailored photography tips that reflect the andean poison frog’s behavior, helping you capture better wildlife images. Explore the full species profile for key information including description, habitat, active periods, and approach techniques.
Andean poison frog
Scientific name: Andinobates opisthomelas

IUCN Status: Vulnerable
Family: DENDROBATIDAE
Group: Amphibians
Sensitivity to human approach: Suspicious
Minimum approach distance: 2 m
Reproduction period: February to March
Incubation: 10–14 jours
Births: March to April
Habitat:
Humid tropical forests, undergrowth, marshy areas
Activity period :
Primarily active during the day, with peak activity in the morning and late afternoon.
Identification and description:
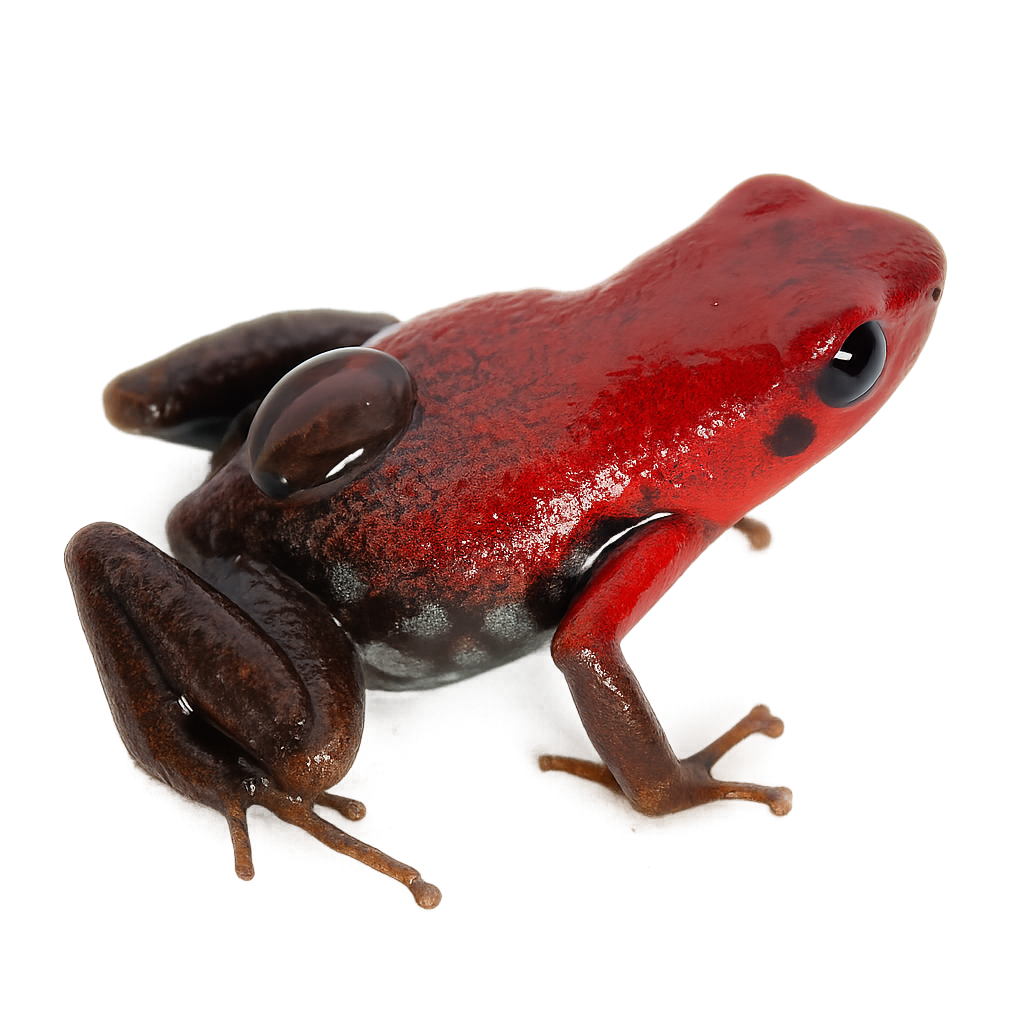
The Andean poison frog is a small, brightly colored frog, predominantly black with red or yellow spots, inhabiting the humid tropical forests of Colombia. Measuring about 2 to 3 cm, this species is known for its toxic skin, a natural defense against predators. It primarily feeds on small insects and arthropods. Males are territorial and use vocalizations to attract females and ward off rivals. Their reproduction involves parental care, with the male carrying tadpoles on his back to suitable water points. This species is threatened by deforestation and habitat loss, leading to its classification as vulnerable by the IUCN.
Recommended lens:
Macro – adjust based on distance, desired framing (portrait or habitat), and approach conditions.
Photography tips:
To photograph the Andean poison frog, it is advisable to use a macro lens to capture the details of its vivid colors and textured skin. Approach slowly to avoid startling it, maintaining a distance of at least 2 m. Natural morning or afternoon light is ideal for highlighting its bright hues. Be patient and wait for it to be still to get a sharp image. Avoid using flash to prevent disturbing the animal.
From knowledge to field practice
A species profile helps you understand an animal. In the field, the challenge is often different. Remembering your own observations.
The WildlifePhotographer app allows you to:
• record your personal observations
• note locations, dates, and behaviors
• revisit your field references over time
• build a private and long-term field logbook
The app does not provide observation locations.
It helps you organize what you actually observe, with respect for wildlife.

